

Get Sewing: Guide to Choosing Stabilizer
/At EverSewn, we recognize that accomplishing setting up your machine and getting your materials ready is more than half the battle, so we welcome you to our series “Get Sewing.” We’ll walk you through all the setup steps and will be here for reference until it all becomes old hat. So far, we’ve covered how to wind a bobbin, how to thread your sewing machine, how to choose a needle for your project, and how to choose thread.
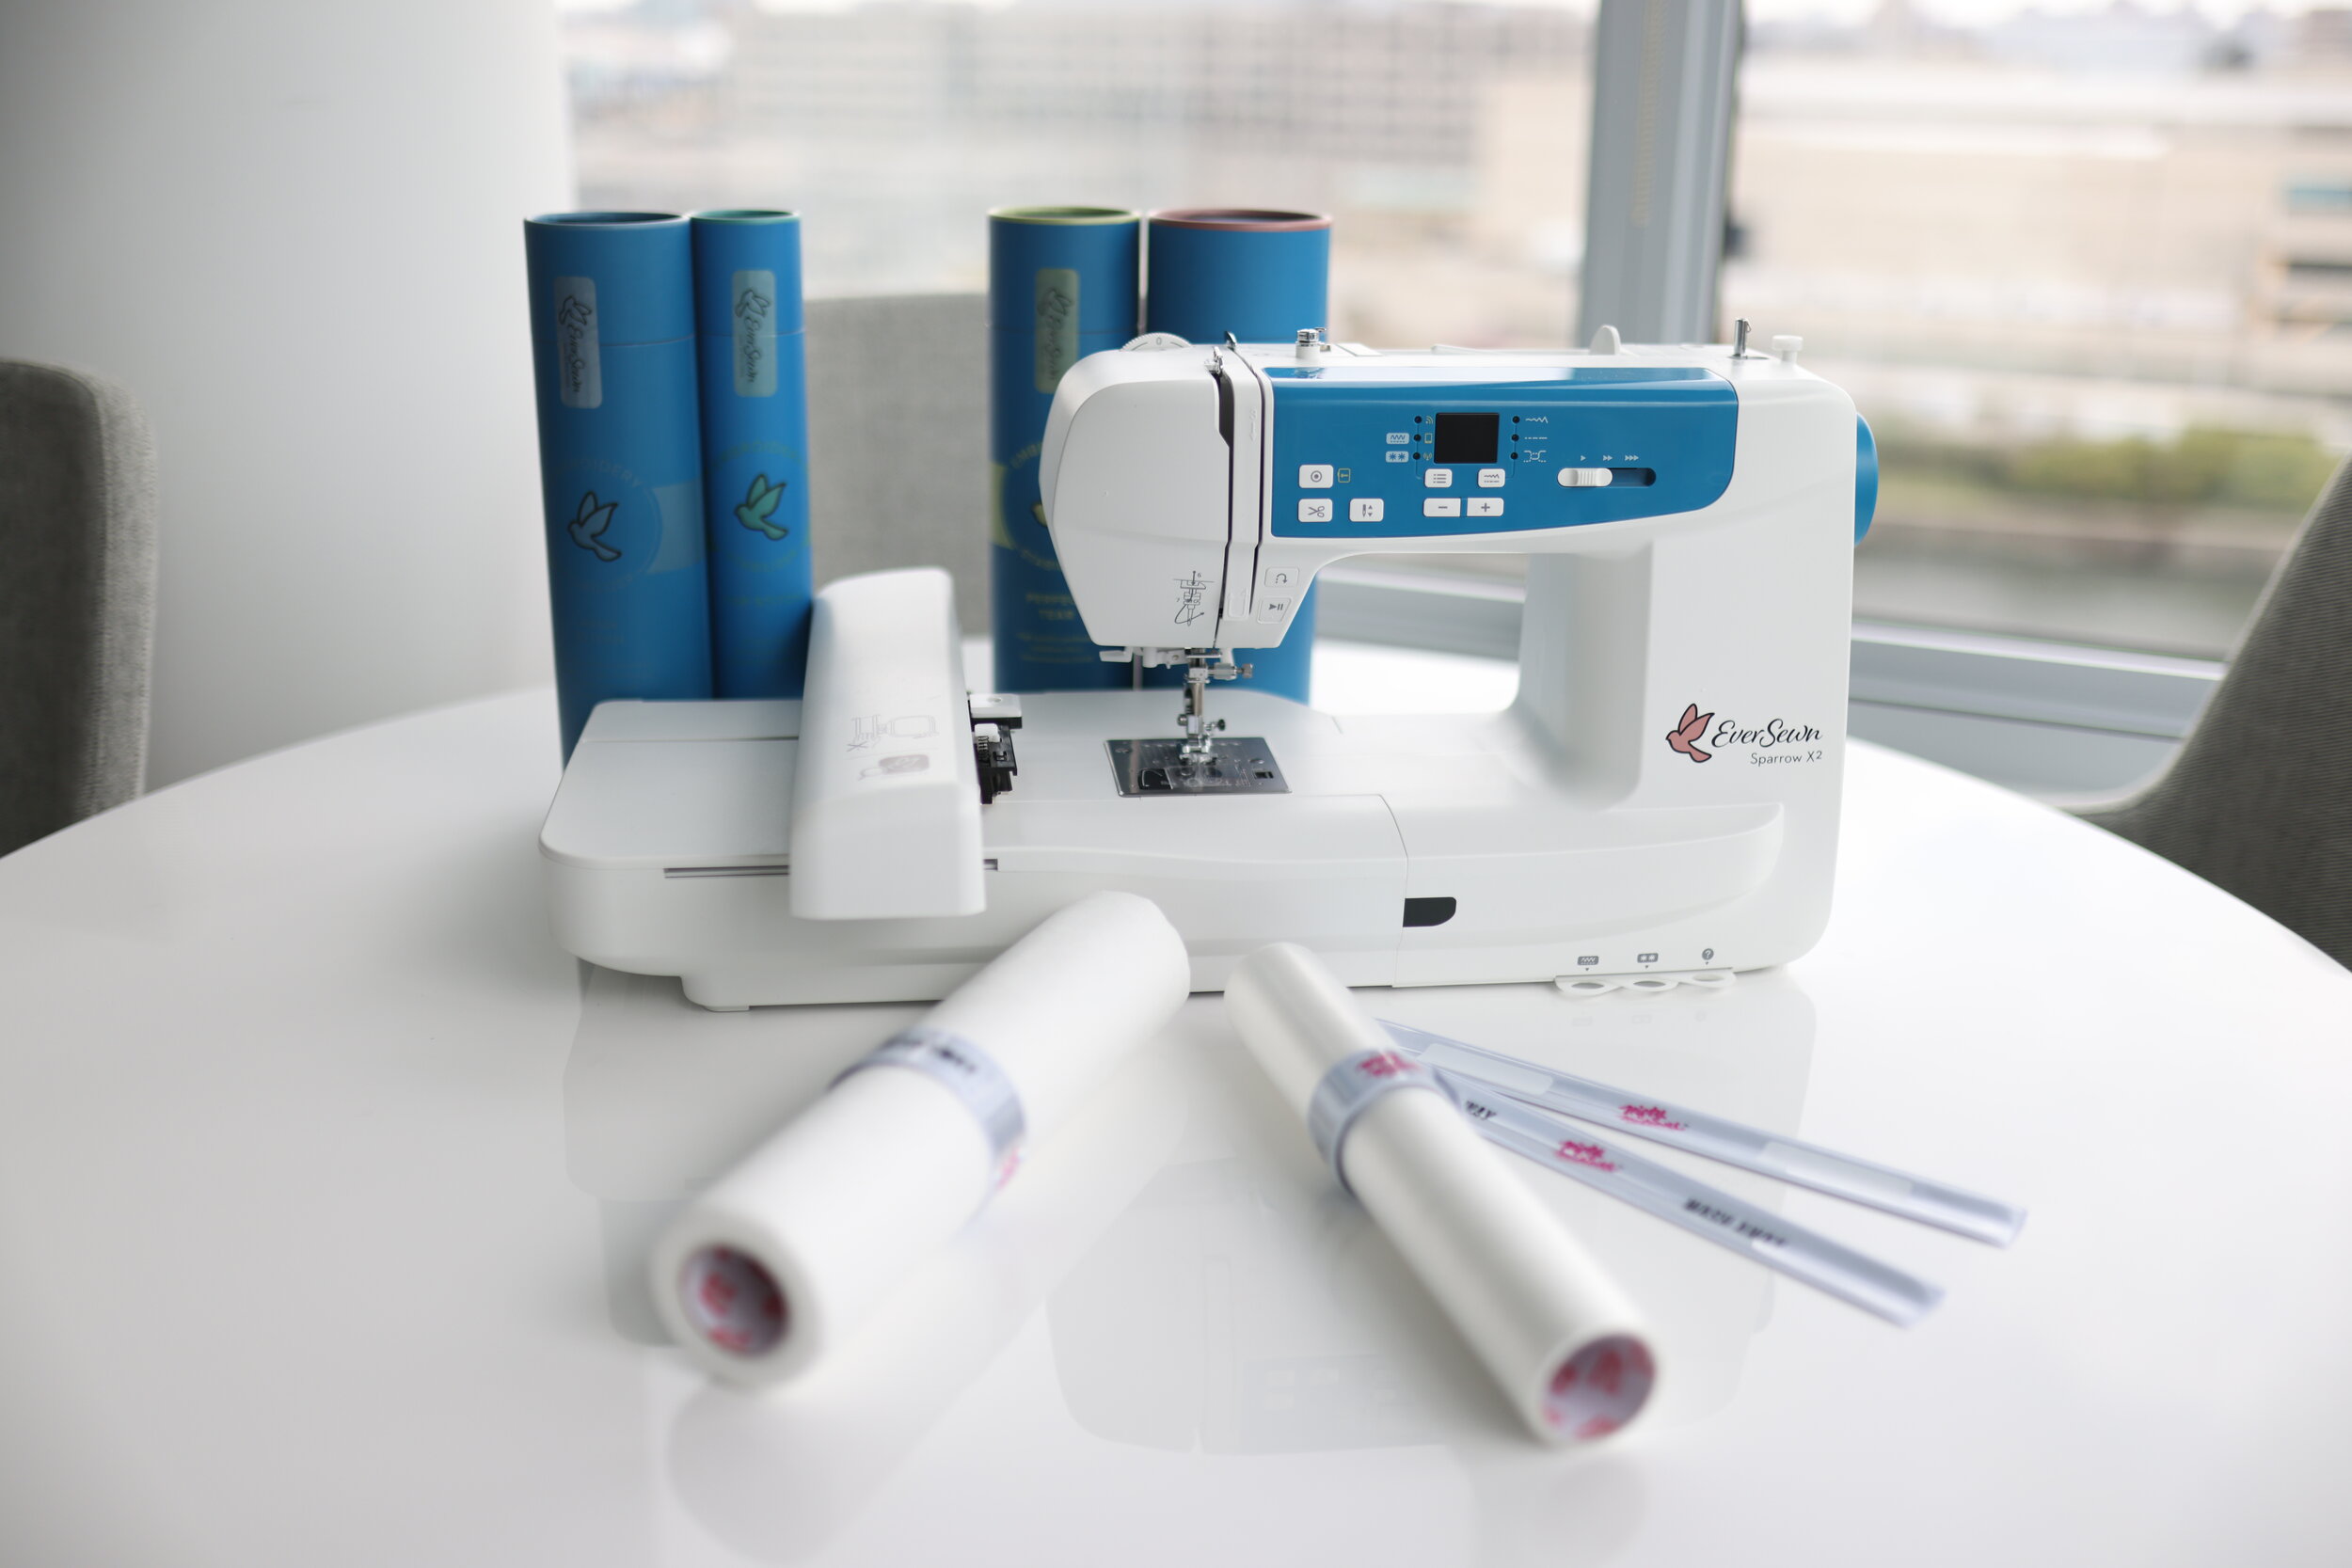
In this article, we’ll talk about choosing the right type of stabilizer for your project. We’ll discuss the differences in common types of stabilizers and how to make sure you’re using the right product to achieve your end goal (with as little frustration as possible!). As always, please also refer to the manual for your specific machine. Many of the concepts are the same for any sewing machine, but there may be some slight differences.
Machine Embroidery Stabilizer Basics
Machine embroidery is so hot right now and there are lots of people new to the craft (yay!). If you’re one of the embroidery newbies - welcome! At EverSewn, we understand that it can be overwhelming to jump into the world of machine embroidering. We want to start with the basics and help you feel comfortable tackling your dream projects!
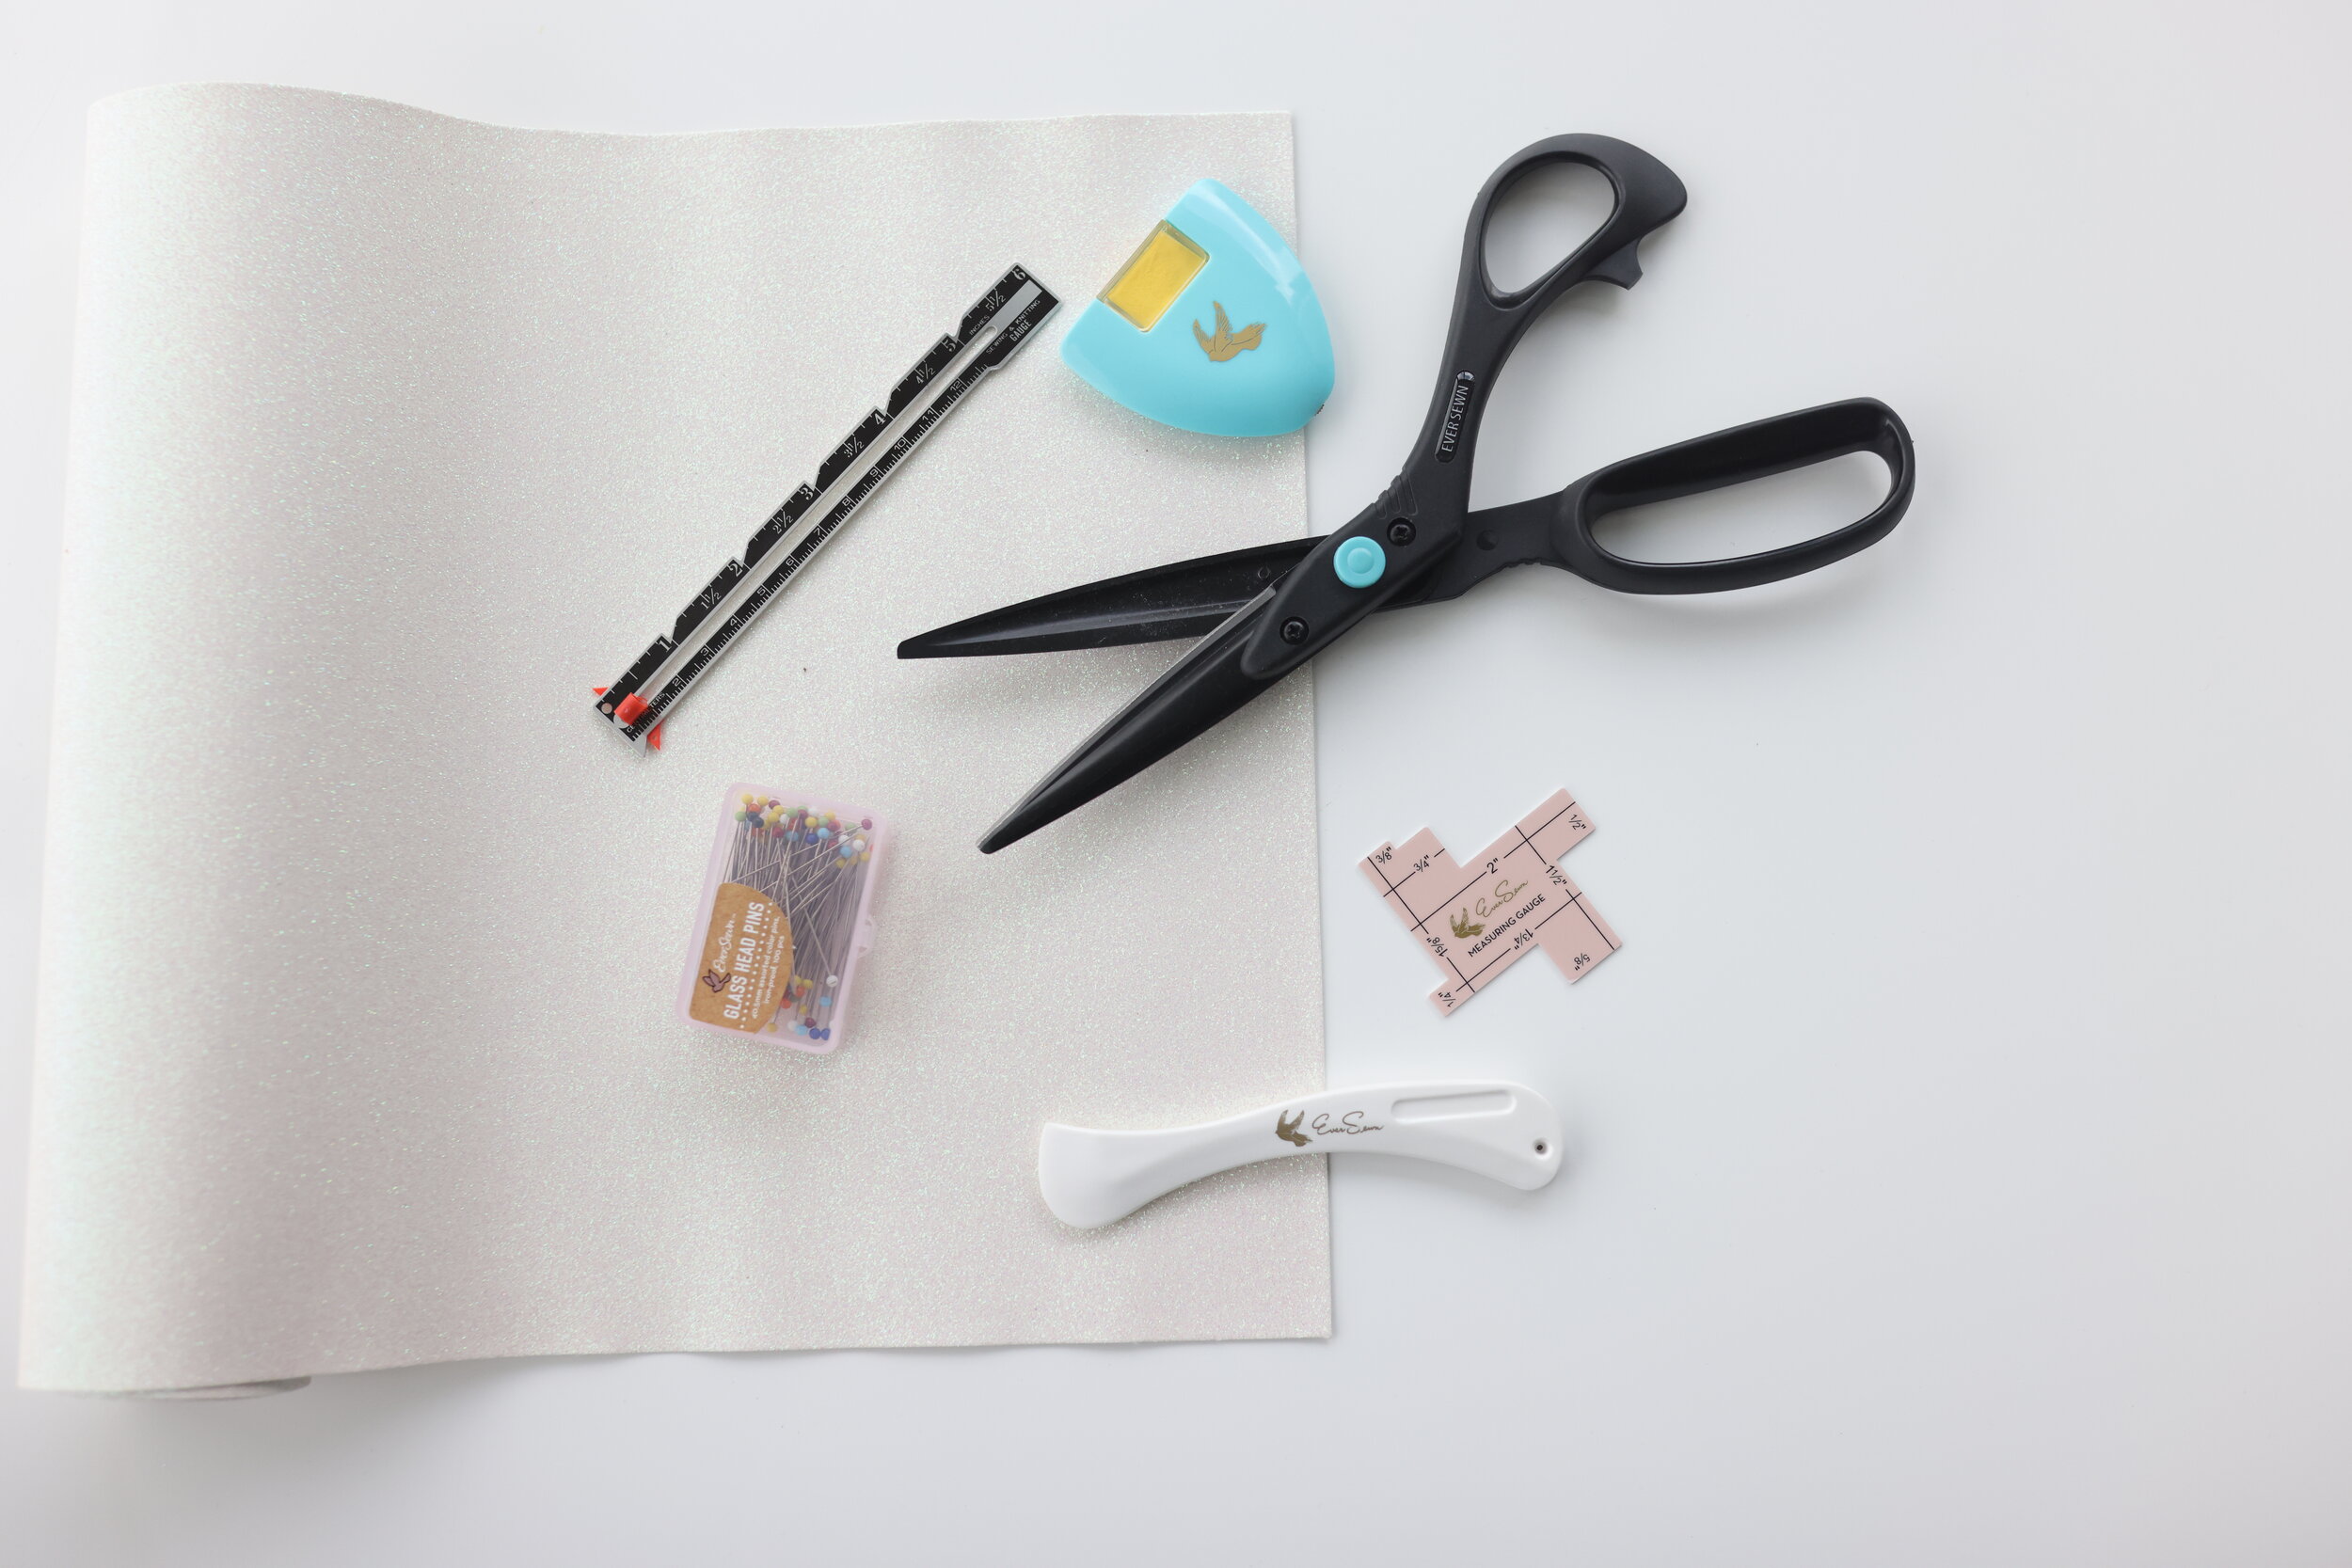
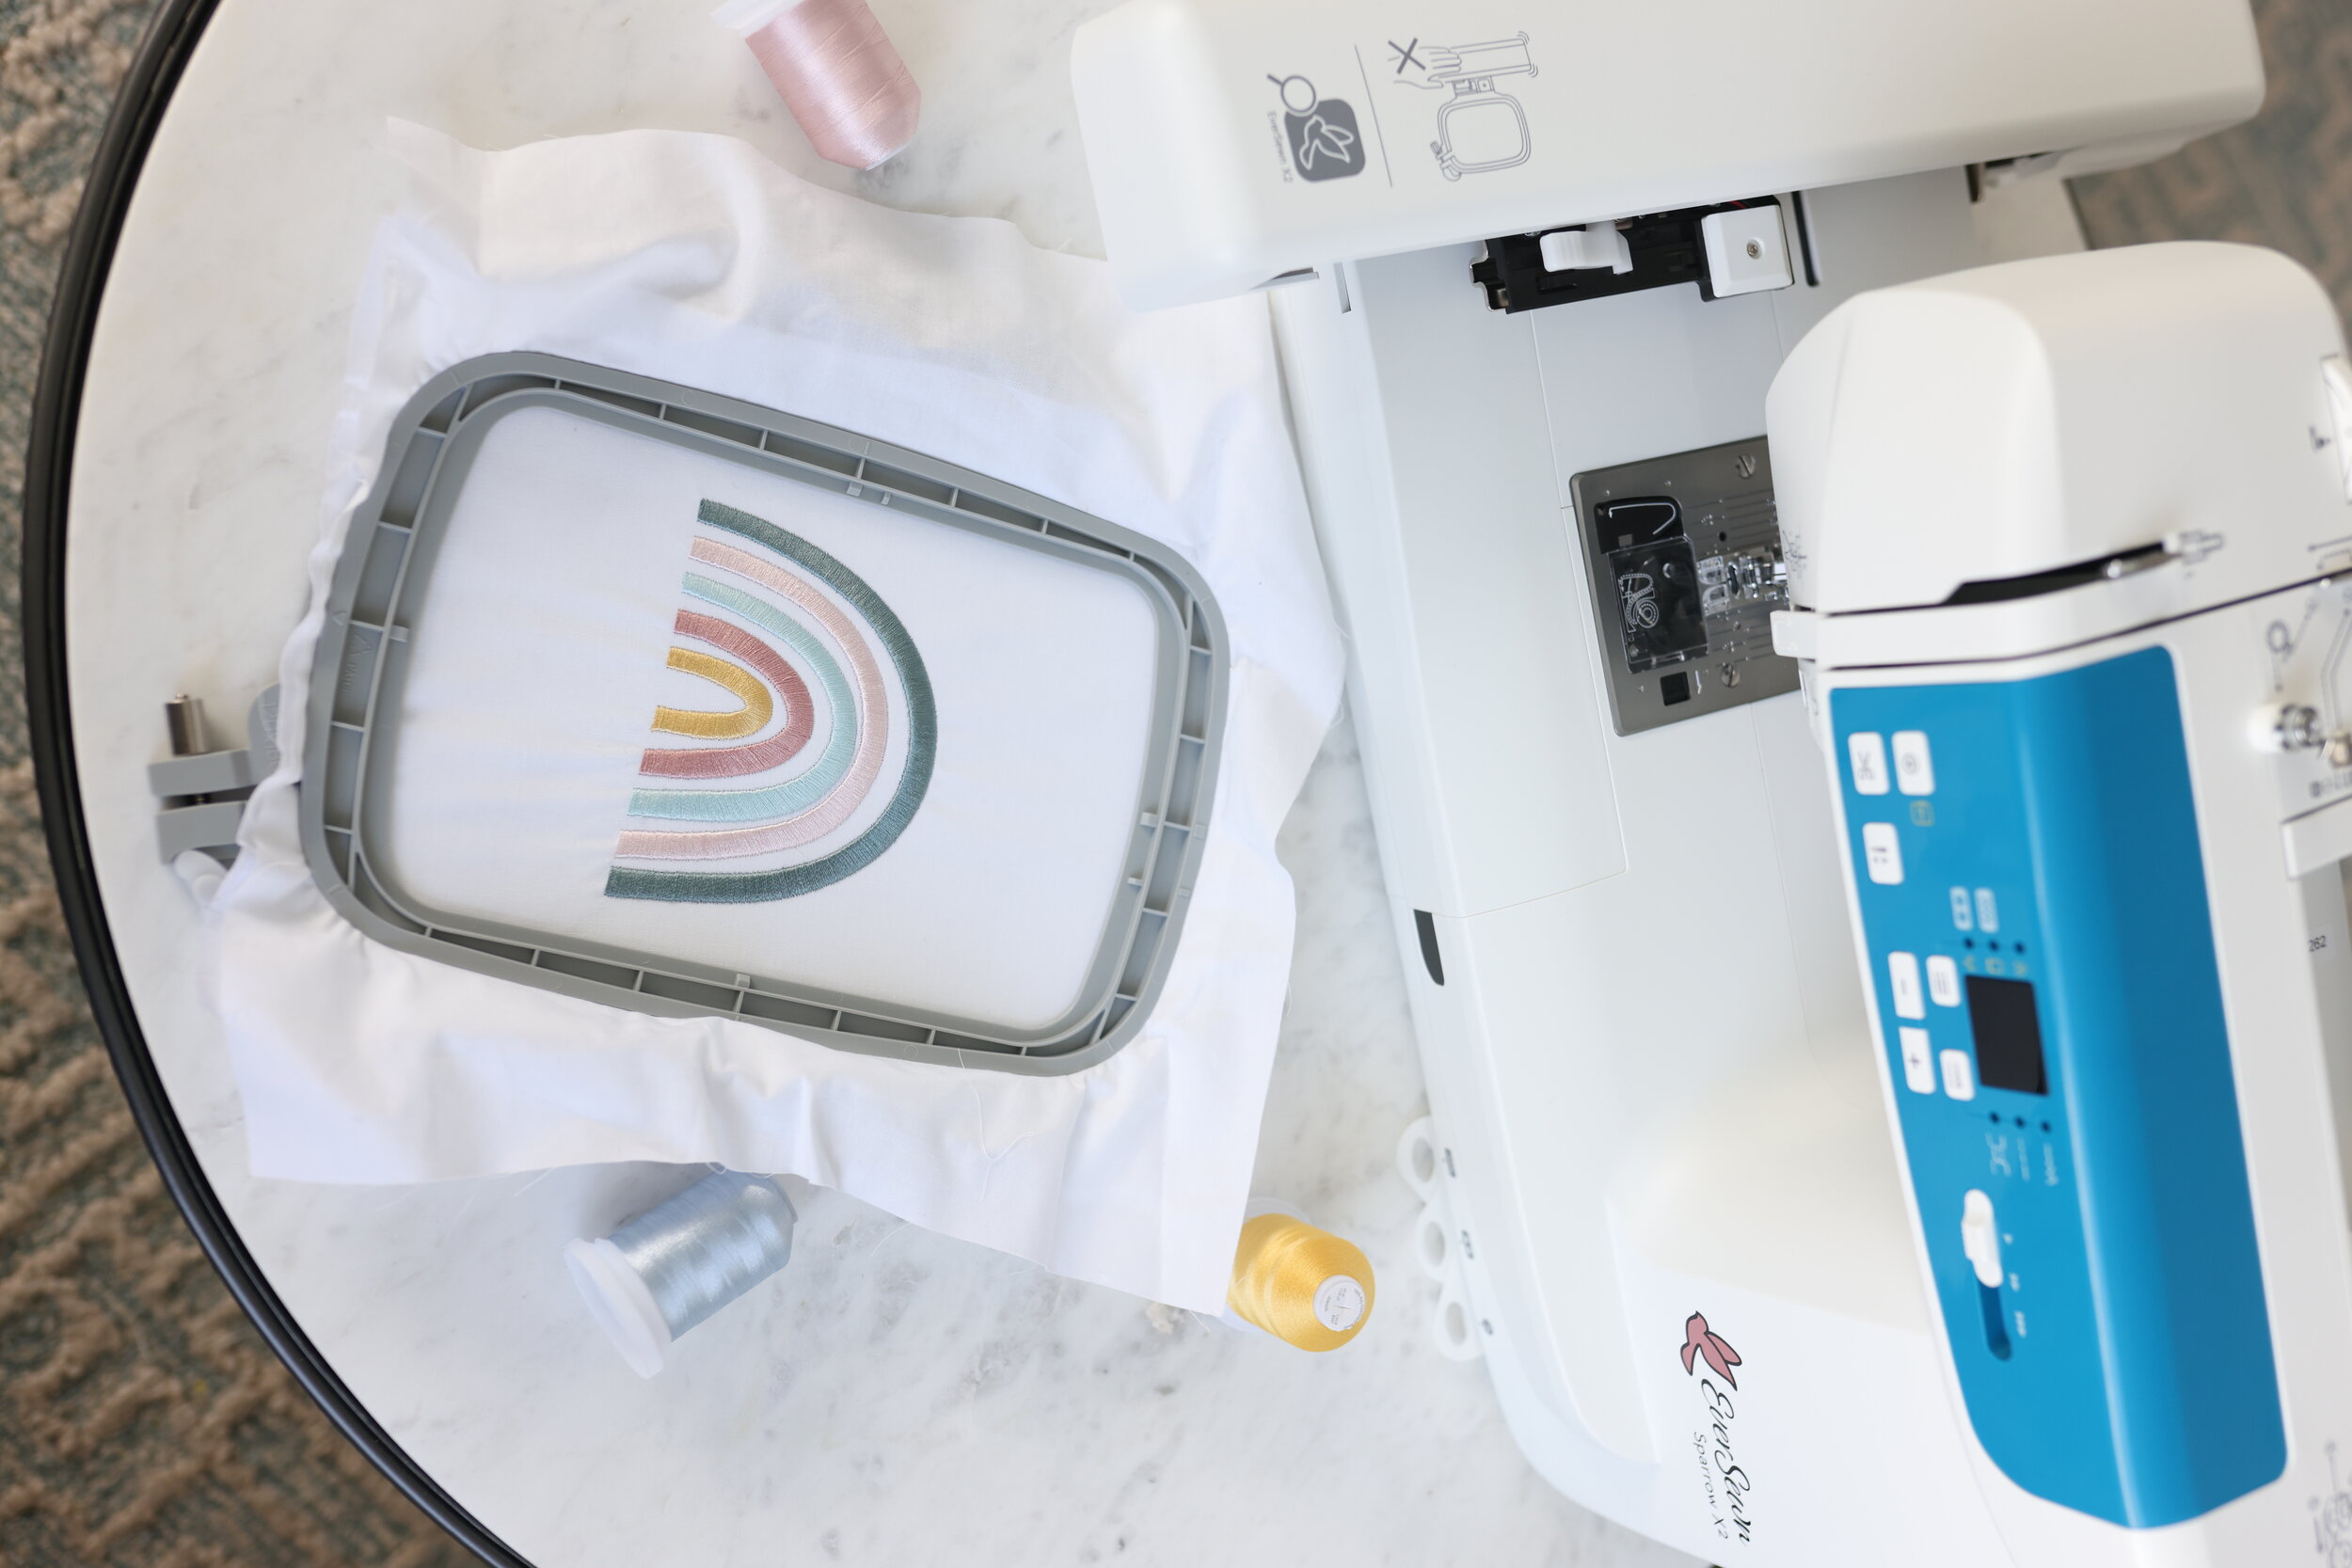
You may be wondering what stabilizer is and why you have to use it when machine embroidering. Basically, stabilizer holds your fabric in place while your machines stitch out your design, helping to prevent pulling and puckering. Stabilizer also helps hold your stitches in place and allows your machine to run smoothly while creating your design.
It’s important to use stabilizer intended for machine embroidery. A quick internet search may lead you to believe that using other household materials like paper towels or coffee filters will do the job. Don’t believe it. Using anything other than stabilizer will cause excess lint to build up in your machine and can break apart during the stitching process, ruining your project.
Now that we know what stabilizer is and why it’s important to use, let’s talk about all the different kinds and when to use them!
Common Types of Stabilizer
We’re going to discuss four types of stabilizer and the uses for each. There are other types of stabilizer available, but we want to keep it simple for those just starting on their machine embroidery journey!
Cut Away - This is the strongest and most durable form of stabilizer. It can be used with any type of material but MUST be used when embroidering on stretchy material. It offers the most support for your design and is permanent. The excess stabilizer will be cut away (hence the name) once your design is stitched. This type of stabilizer offers long-lasting support for your stitched design and can handle heavy usage and multiple washes well.
Tear Away - As the name suggests, this type of stabilizer is torn away from the material and design once you’ve stitched your project. Tear away stabilizer offers significantly less support than cut away stabilizer and is typically used for projects where the back of the design will show, like a tea towel. They should not be used with stretchy or sheer fabrics as they will not provide enough support. Tear away stabilizer can also be used in conjunction with cut away stabilizer if you have a project that has a high stitch count or extra stretchy material. Once your design is embroidered, you can then remove the tear away stabilizer, leaving behind the cut away stabilizer allowing your project to have more support during the creation phase but not more bulk once you’re ready to use or wear your design.
Wash Away - Are you noticing a trend with these stabilizer names? Yes, most of them are named for their removal method! Wash away stabilizer completely dissolves in luke-warm water. This is great stabilizer to use when you need your stabilizer to completely disappear. Keep in mind, this type of stabilizer does not offer long lasting support as it will completely disappear once submerged in water. Wash away stabilizer is typically used with specialty fabric like lace or mesh. A few things to keep in mind when using wash away - using this type of stabilizer alone does not work well for a design with a high stitch count and it should only be used on washable fabric.
Top Stitch - Okay, this one breaks the naming method! It’s also a stabilizer that has a specific and specialized use for designs stitched on heavier nap or “fluffier” material like terrycloth or fleece. This stabilizer is also called “topper” because you use it on top of the material you’re embroidering, in between the material and em Using top stitch stabilizer keep the stitches from disappearing or “sinking” into the heavier fabric. These types of fabric are notoriously difficult to embroider on, but we know lots of you want to create designs on cute fleece jackets and towels. Top stitch will be your best bet in keeping your design crisp and beautiful on these projects! This stabilizer can be removed similar to tear away and remainders can be wiped away with a damp cloth.
Getting Started on Machine Embroidery
As with most things, machine embroidery takes trial and error and lots of practice! You’ll eventually find your preferences for material to embroidery and types of stabilizer to use. We recommend stocking up on a variety of stabilizer types and pulling some old clothes of varying material out of your closet to practice on.
We have no doubt that you’ll eventually embroider anything and everything you can get your hands on! Machine embroidery is such a fun way to personalize gifts and make home decor and clothing beautiful and unique. Please tag us on your project photos - we love seeing what this creative community makes!