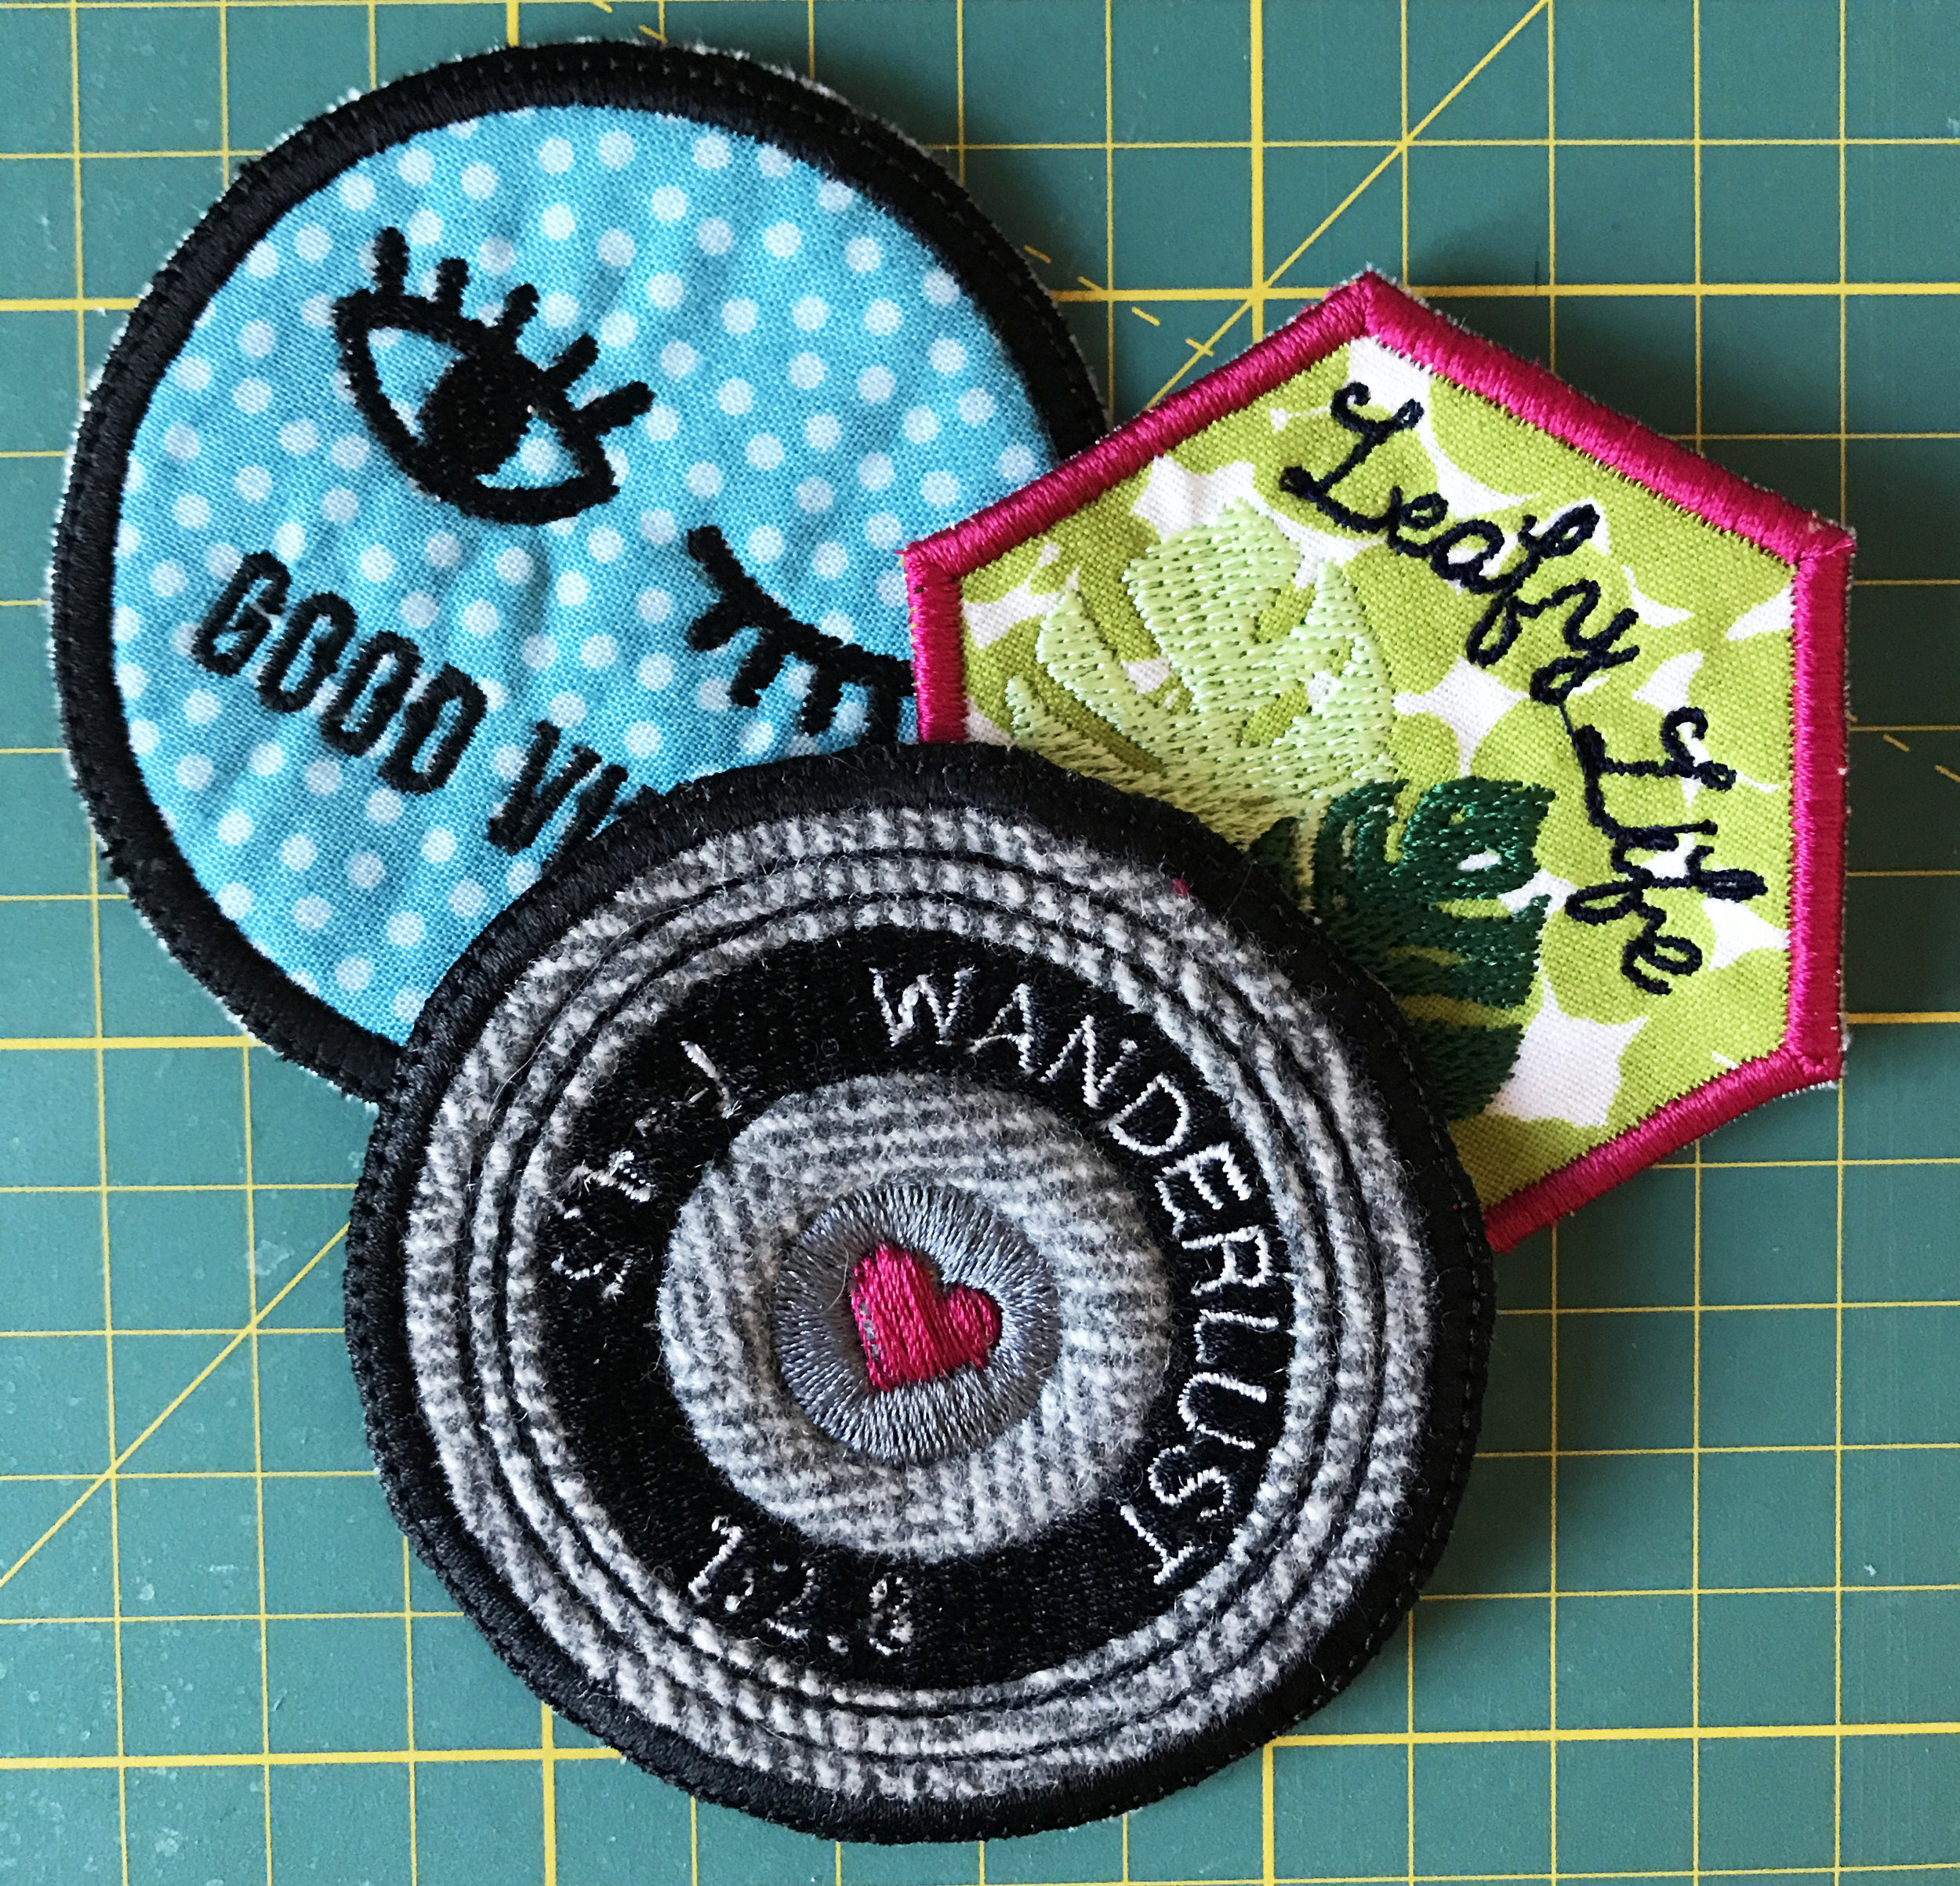

DIY Embroidery Patches
/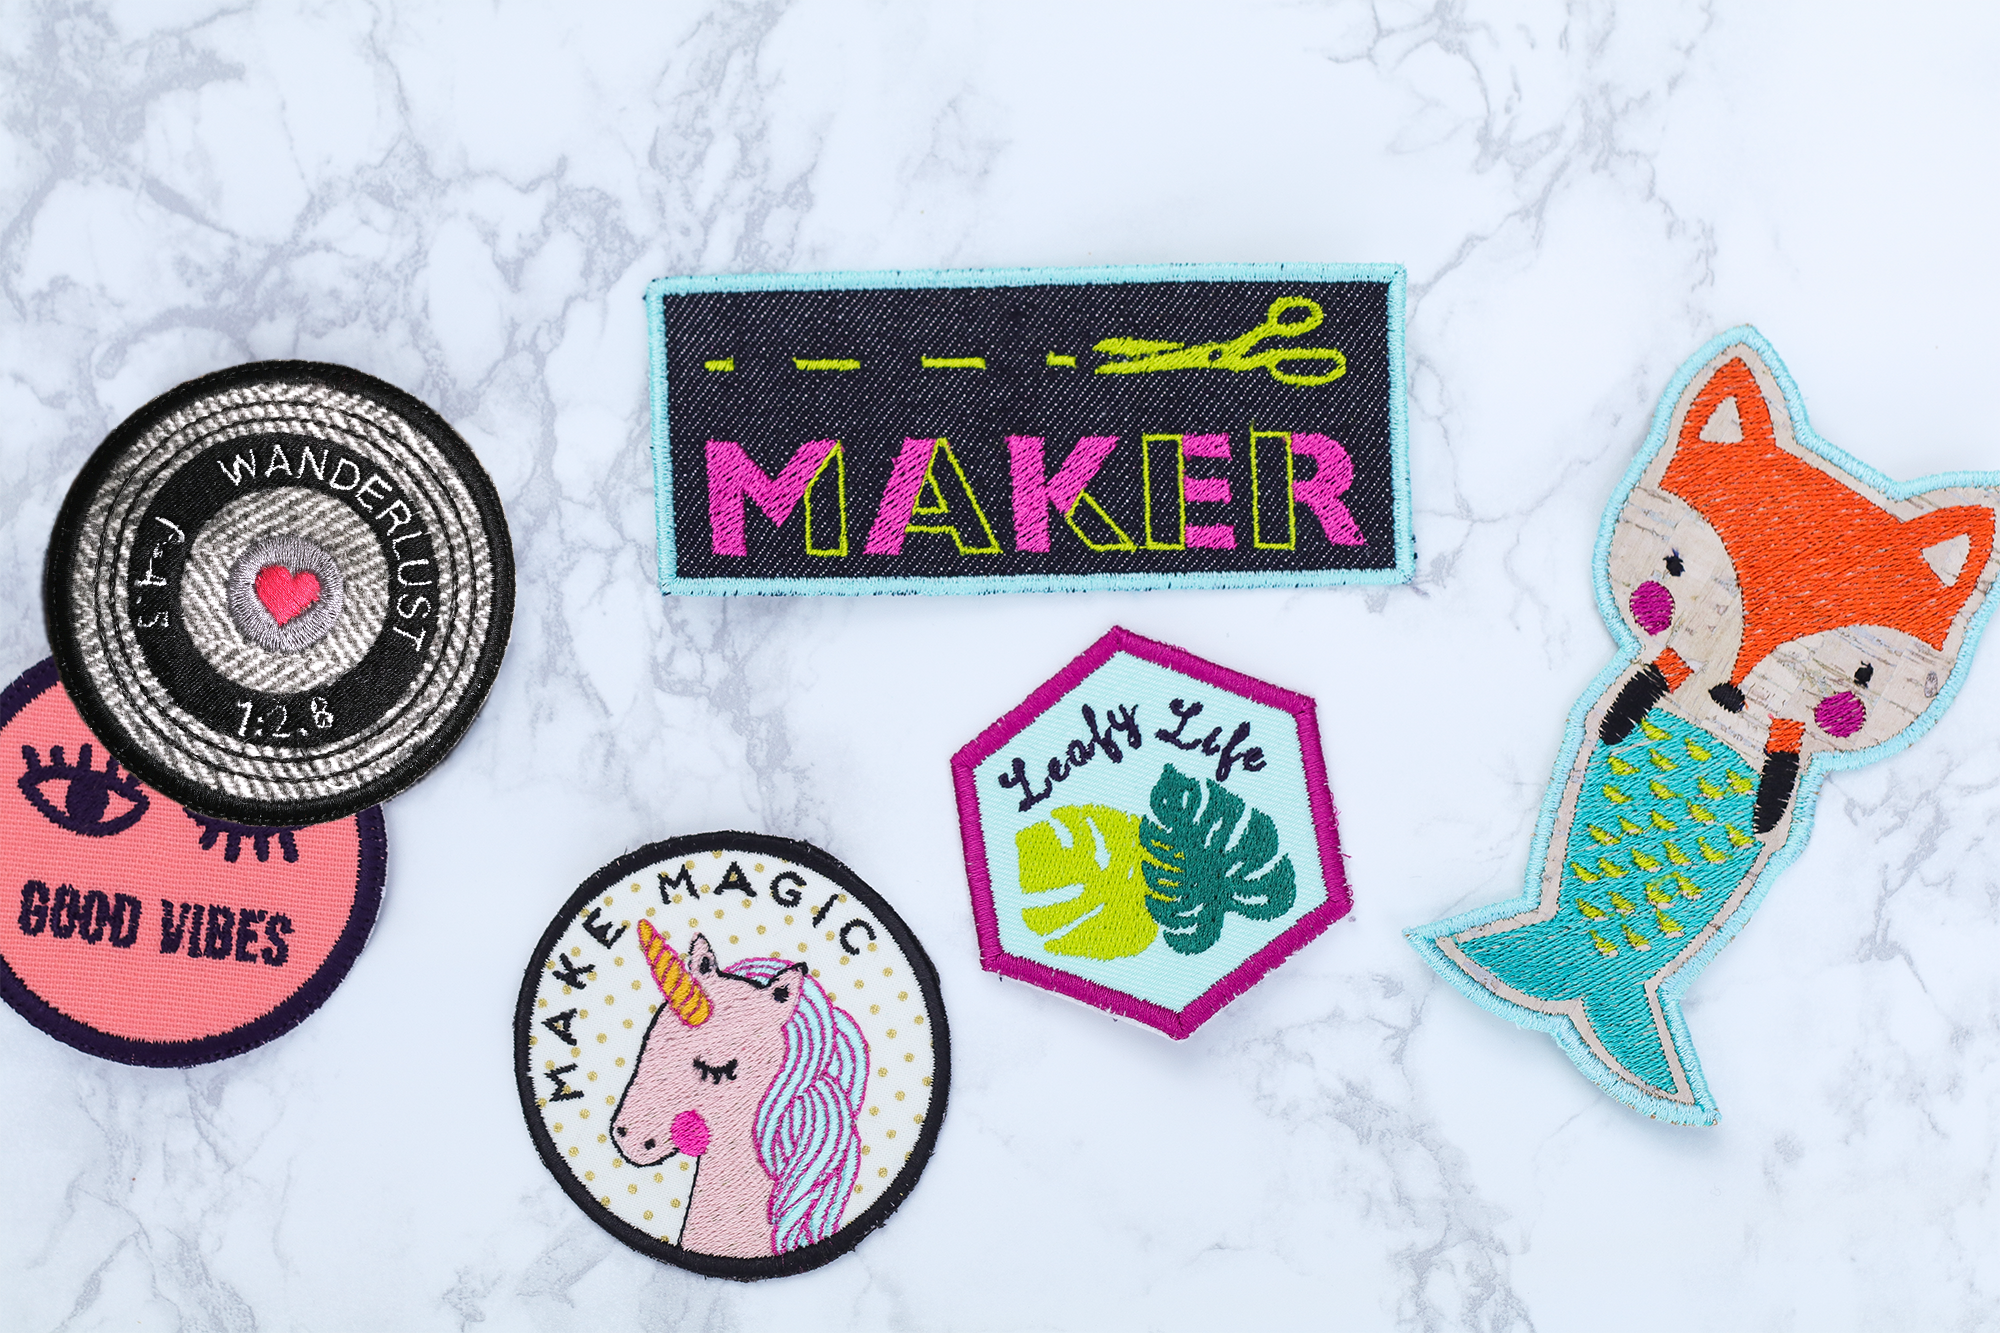
Entering into embroidery may seem daunting at first, but creating a patch is a great way to make a small project with some big personality and style!
Pattern Designs: A FREE design download here!
Materials
Scrap fabric
Embroidery Thread - Isacord Embroidery Thread
Fusible Interfacing- Pellon Shape-Flex
Wash-away stabilizer- OESD AquaMesh Wash-Away Stabilizer
Spray Adhesive – 505 Adhesive Spray
Iron-On Bonding Film – OESD Fuse n Seal CutAway
Step 1 – Cut Fabric for Patch
Cut out one 6” square pieces of the patch fabric. (Front)
Iron on fusible Interfacing to add more stability to fabric when stitching out the embroidery designs.
Step 2 – Load Embroidery Design from USB
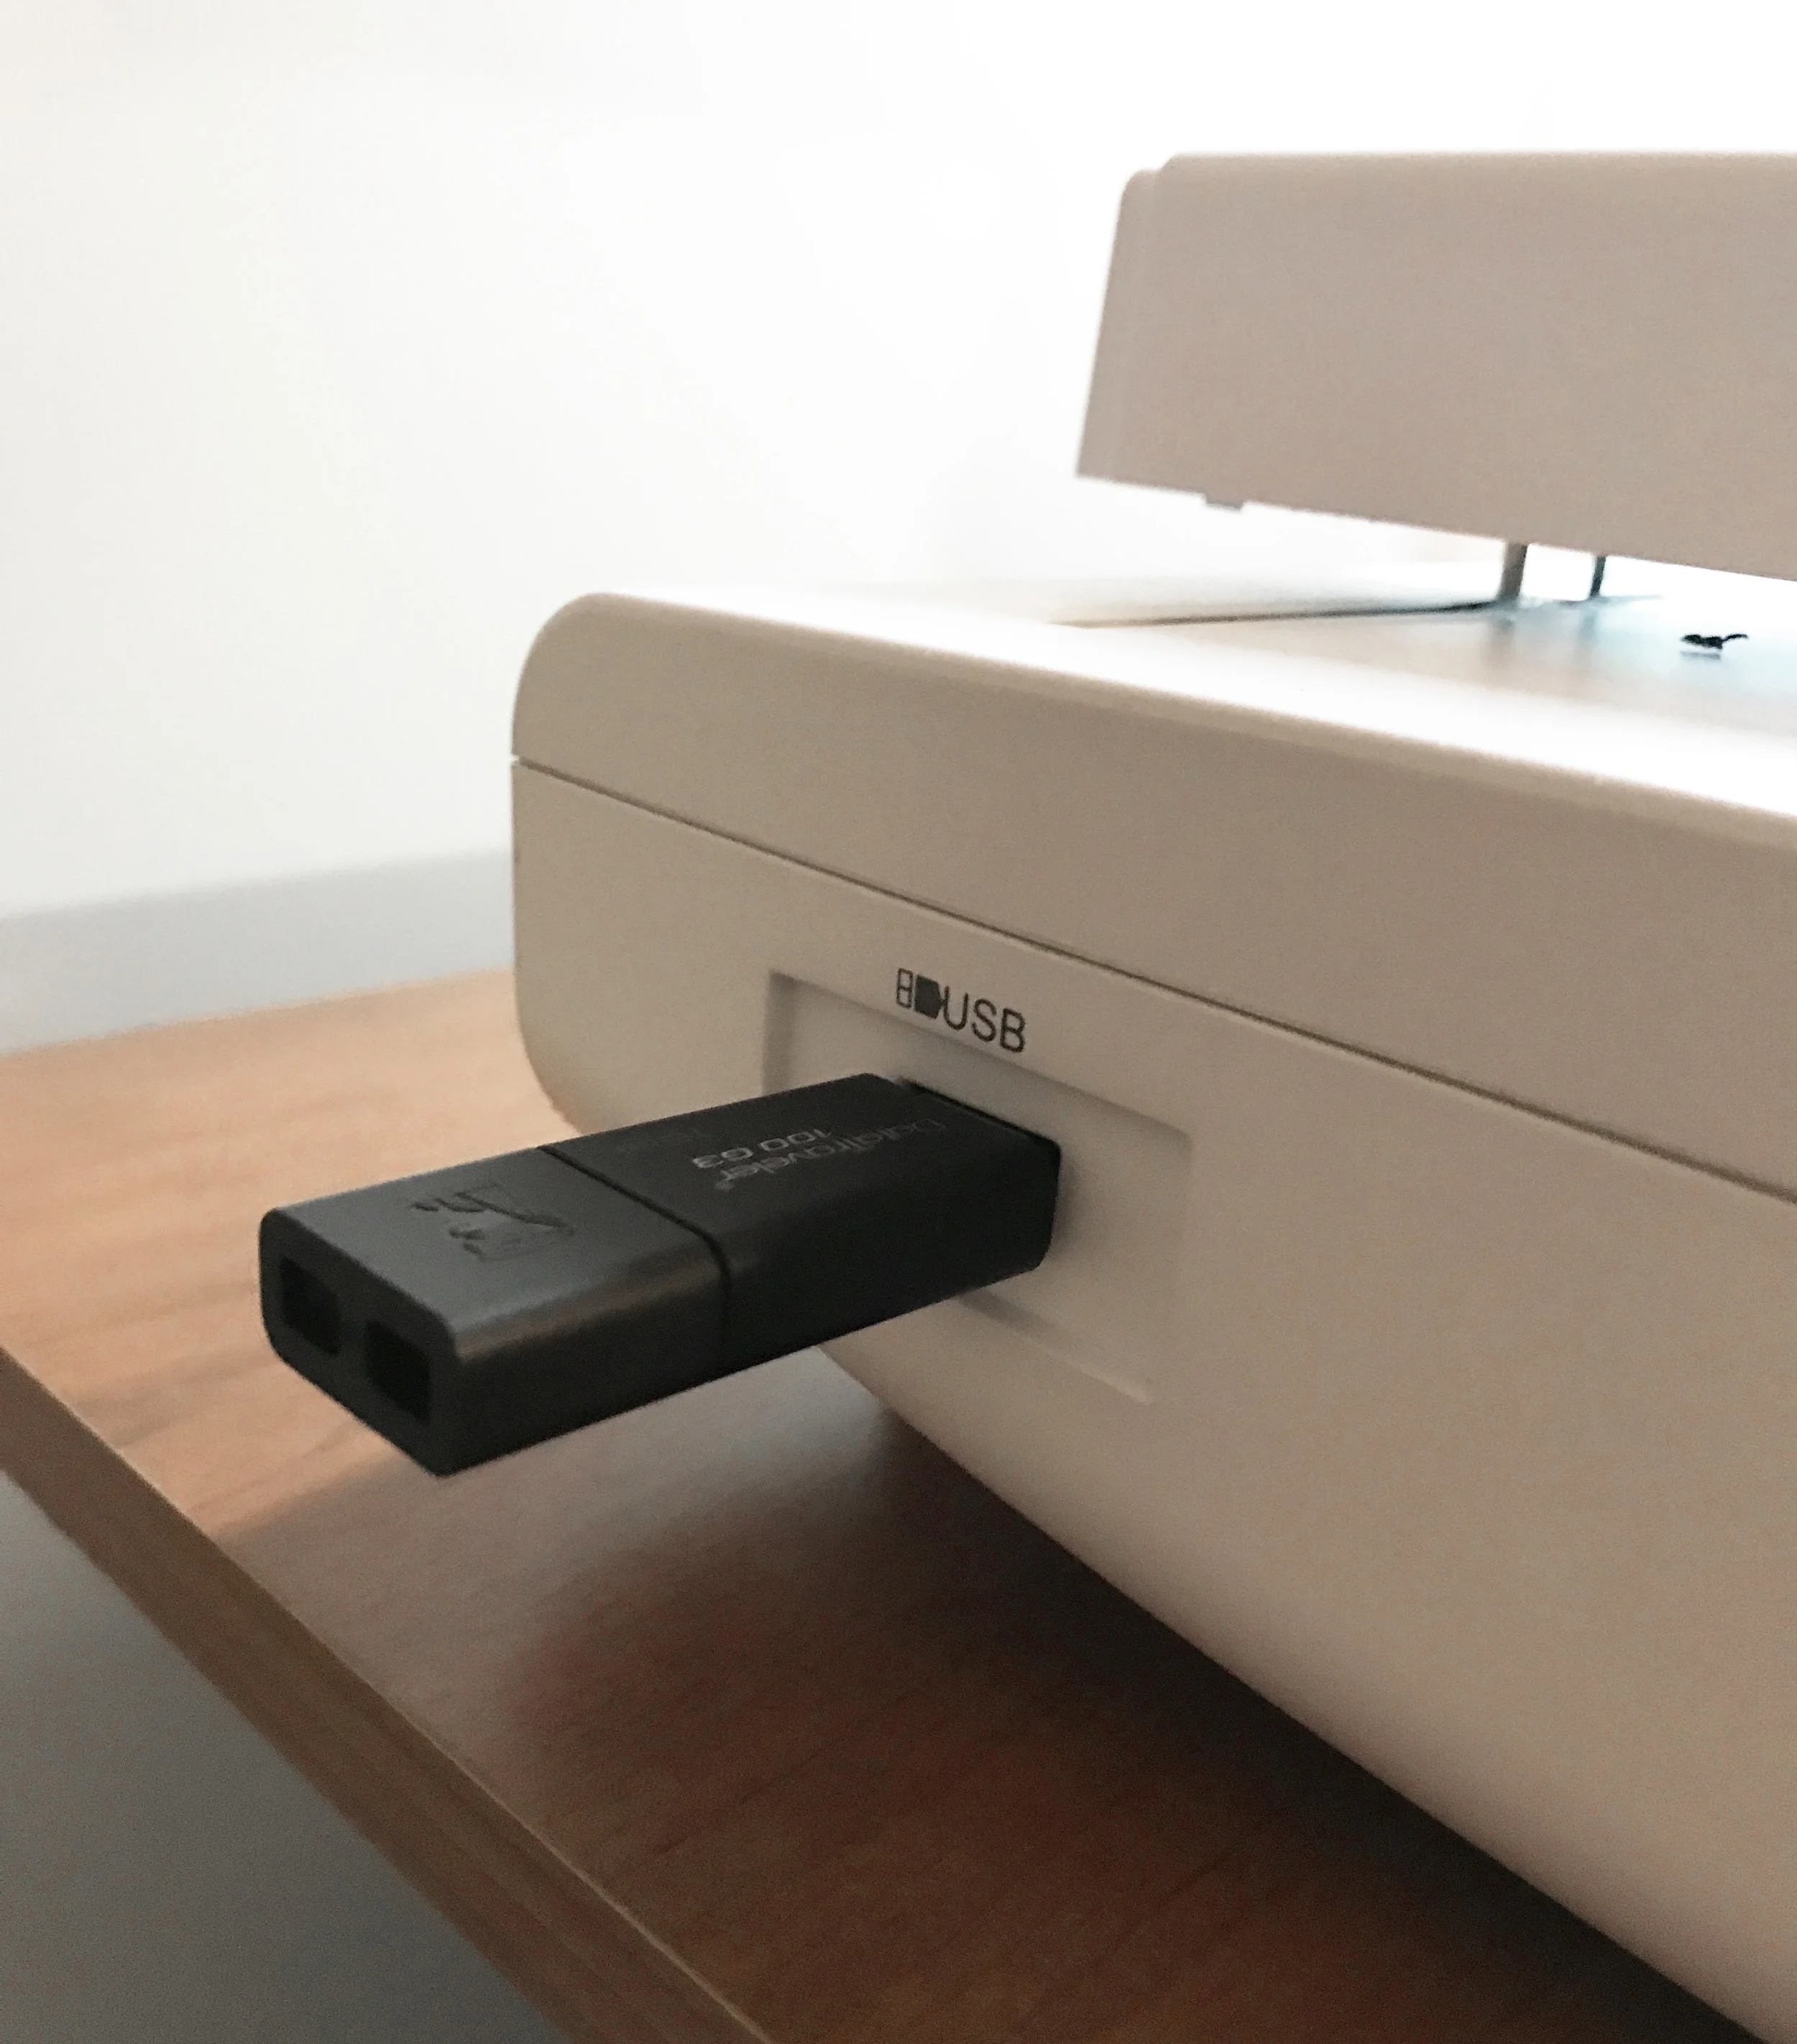
Load the embroidery design to the EverSewn Hero using a USB. Follow the instructions to bring up the chosen design to stitch.
Step3– Hoop Wash-Away Stabilizer
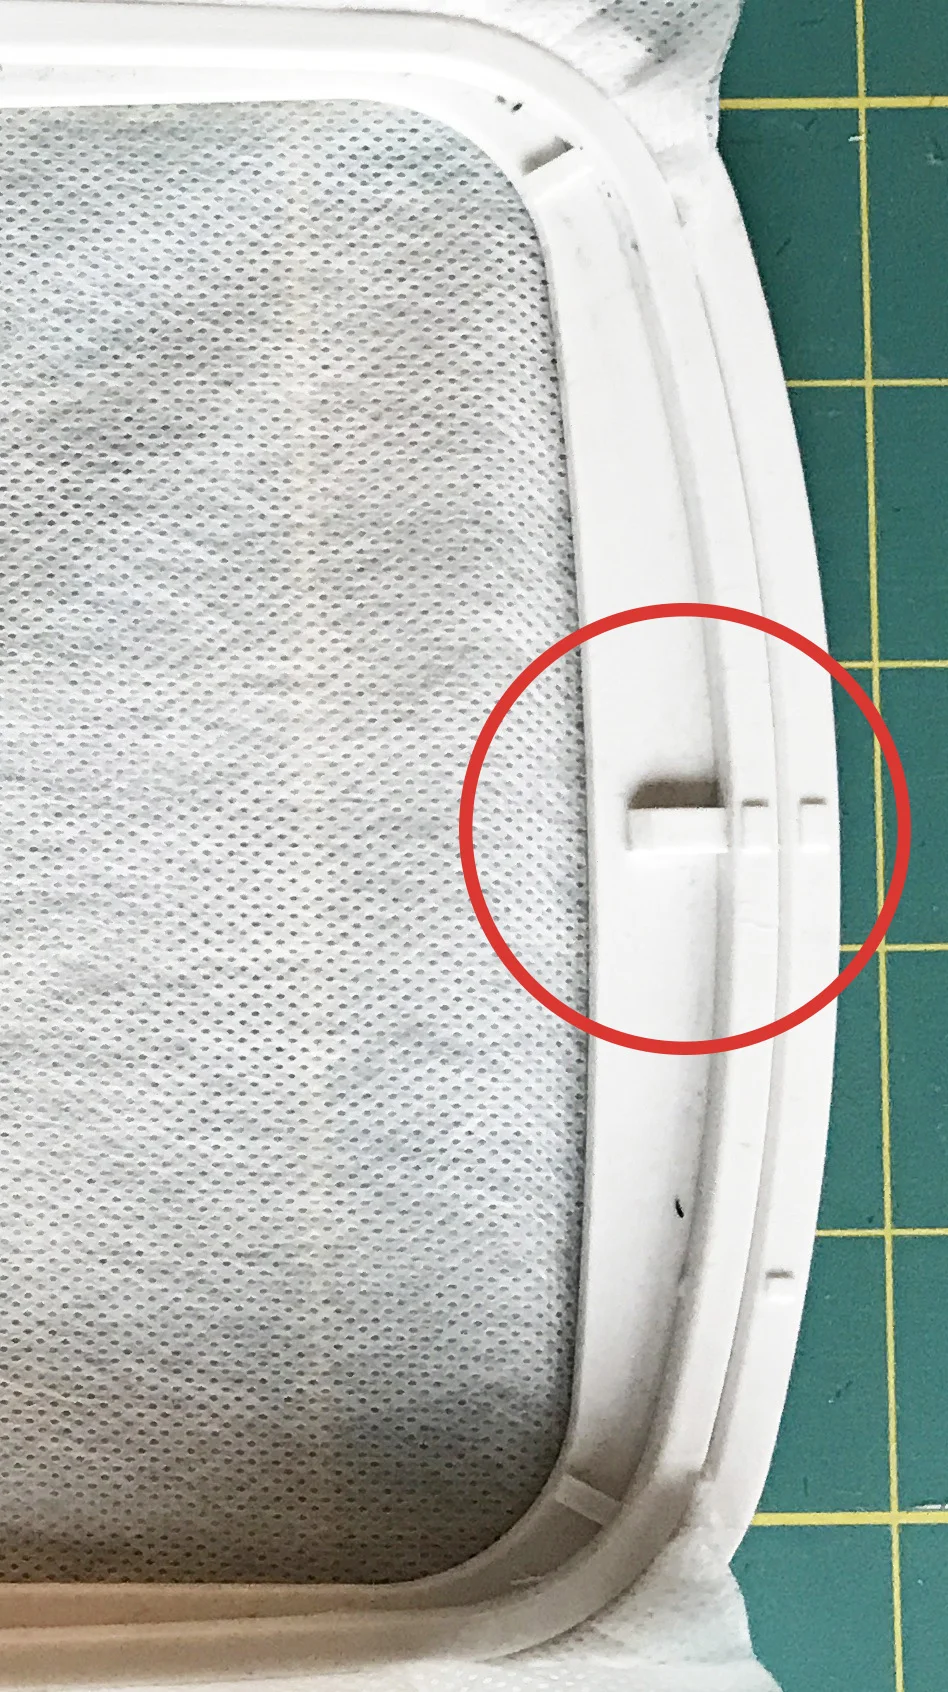
Cut two layers of the wash-away stabilizer to hoop. Make sure to match the correct ends of the inner hoop to the outer hoop and tighten the knob to secure. Slide the hoop into place in the Hero. Make sure your bobbin is full at this time. You will have to remove the hoop from the machine several times during the stitch out, but never remove the fabric/stabilizer from the hoop until the embroidery design is completely finished. The position of the design has to stay in the same place for the next steps to line up.

Step 4 – Placement Stitch - First stitch of embroidery design

A placement stitch occurs to outline the area that needs to be covered with fabric.
Once Step 4 is completed, take your prepped fabric and lay over the placement stitch.
Step 5 – Attach Stitch

The second design stitch will secure the fabric.

Slide the hoop from the machine and cut away excess fabric as close as you can. The Embroidery Duck Bill scissors are really useful with this step. Slide the hoop back in place to continue to stitch out the design.
Step 6 - Thread Color Changes
Make thread color changes as directed and cut the easy jump stitches as you go but only when the machine is not stitching. Leave the small ones for later when you remove the design from the hoop at the end.
Step 7 –Completed Design
Once the embroidery design is finished, slide the hoop out of the machine.

Take a wet Q-tip and touch the edge of the patch and watch the stabilizer melt away. Remove the remaining stabilizer from hoop and discard.
Step 8 – Iron-on Ready
Trace out and cut the shape of the patch from the Fuse and Seal and fuse it to the back of the patch.
The patch is Iron-on ready.