

FAUX SUEDE FRINGE STOCKING DIY
/Blog post by A Beautiful Mess.

I’m pretty sure that stockings were actually the very first thing that I learned how to sew with my Mom when I was growing up. They were pretty simple designs but I definitely remember the pride I felt in hanging them up for Christmas knowing that I had made them all by myself (with a little help from Mom, I’m sure). Since this is our first Christmas with our daughter Lola, I thought it would be fun to make some family stockings for the mantel to celebrate this extra special holiday! I love the texture and look of faux suede, so we partnered with EverSewn to incorporate that in some way and a layered fringe look felt like the perfect route.

Supplies (for one stocking):
-1/4 yard white cotton fabric
-1/4 yard faux suede fabric (I used this fabric which frayed a bit more than I would have liked, but it’s so pretty)
–EverSewn Sparrow 30 sewing machine
-fabric glue
-straight pins and fabric scissors
–iron-on gold letters
–fabric clips (optional)
–stocking template

I used the EverSewn Sparrow 30 sewing machine on this project, which is hands down the cutest sewing machine I’ve ever seen! It has all kinds of features, including 310 stitch patterns. So if you haven’t added it to your Christmas list, you need to ASAP.

Print and cut out your stocking template. Lay the template on folded cotton fabric and cut out a boot shape so you end up with two identical pieces. Pin the pieces together.
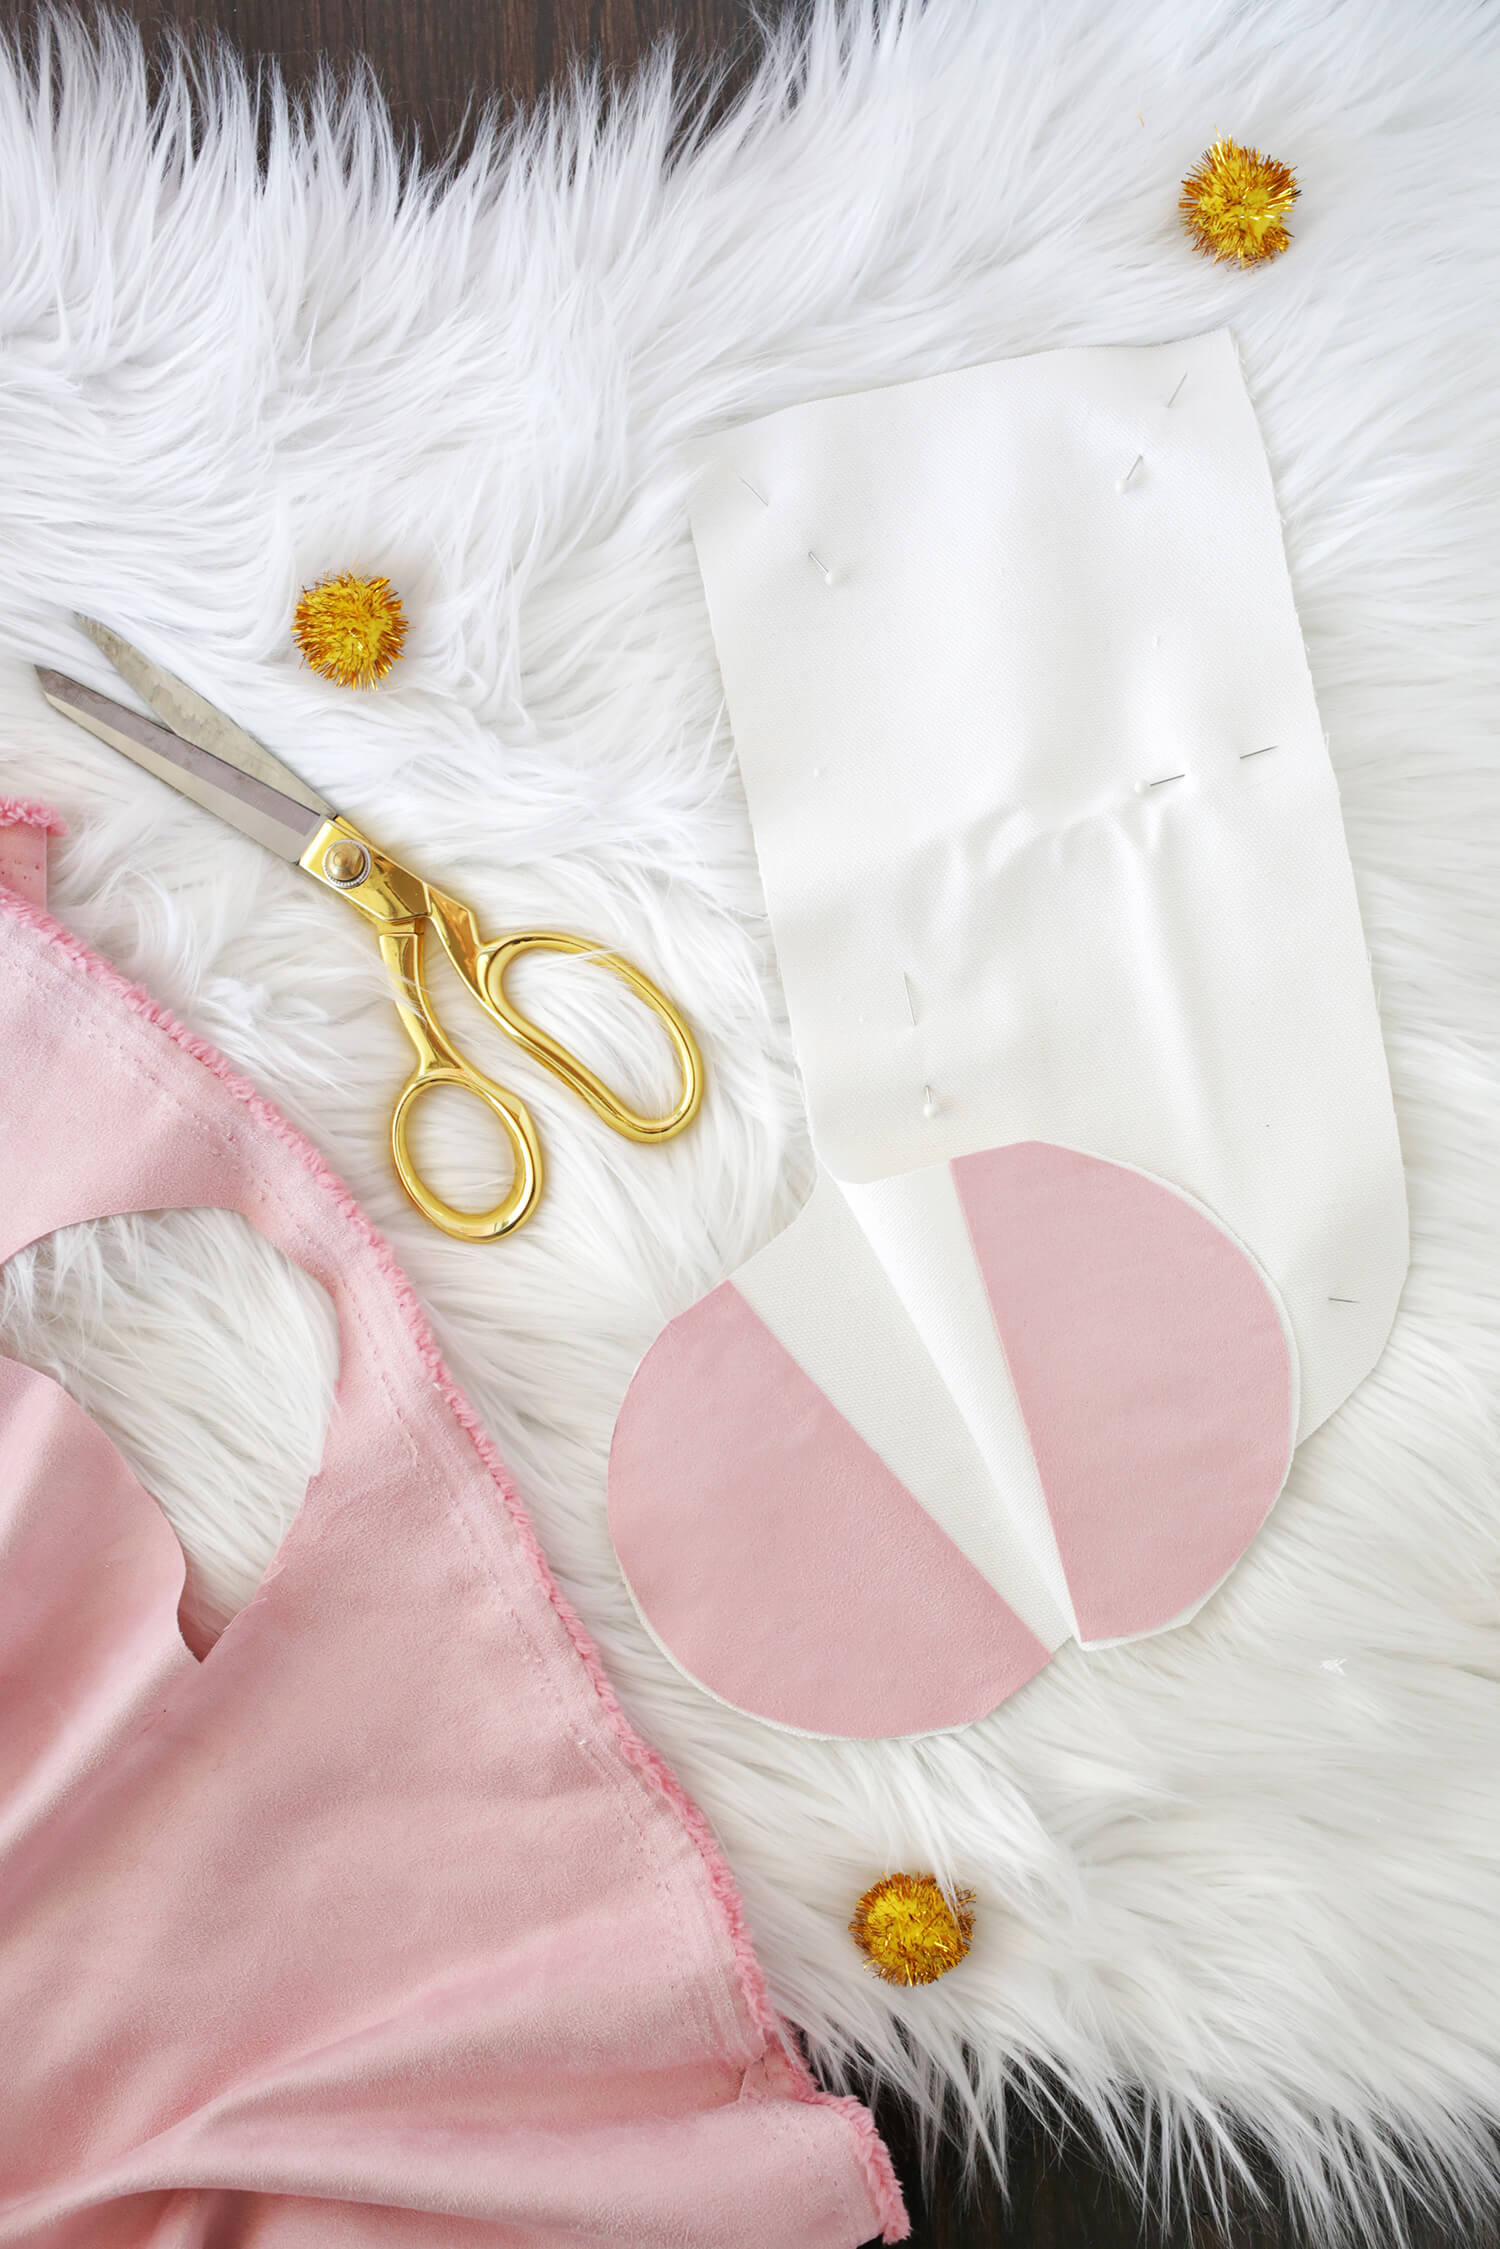
Cut out your toe area from your faux suede fabric and glue it onto the right sides of your boot pieces so they will face together on the inside of the pieces.

Sew all the way around your stocking edges with a 1/2″ seam allowance leaving the top open.

Once you’ve sewn your pieces together, use your scissors to cut little “v” shaped notches at each of the rounded corners.

Cut two strips of suede that are 4 x 12″ and stagger them so that the top one is 1″ higher than the bottom strip. Glue the top edge of the bottom strip to the underside of the top strip so it looks like the photo above. This will be the top side of your fringe piece.

Pin the right side of your fringe piece to the wrong side of your stocking, letting the extra length in the fringe piece overlap on whichever you want to be the back side of your stocking (so decide if you want the front side toe direction to face left or right). Sew around the top with a 1/2″ seam allowance.

Flip your stocking right side out and iron on your monogram glitter letters.

Use fabric scissors to cut fringe into your suede strip about 1″ apart.

Use decorative twine or a strip of your suede to make a loop and hand sew that into the top inside corner of your stocking (the side that’s opposite the toe side). Now your stocking is ready to hang!


AGH, I love them! As you can see, Lola and I have the same initials (and the same middle name and the same birthday actually!), but as you can guess, hers is the one with the rubber teething toy tucked inside. You could also use real suede if you have some of that you want to use up (thin suede would be best for this), but I would use a leather sewing needle to sew the fringe piece on instead. I can’t wait until Lola wants to help make Christmas decorations with me, but until then I guess I’ll enjoy having full control over all the little details. If you haven’t made a stocking before, I hope you’ll give this one a try! xo. Laura
Credits // Author and Photography: Laura Gummerman. Photos edited with A Color Story Desktop.